
DIY Hose Guards

Hose guards can get pretty expensive, unless you buy the cheapies that either break and don’t last, or just don’t work well. I went through quite a few cheapies over the years and just got sick and tired of having to replace them, so I did a little browsing for ideas and came up with a hybrid of a couple that I liked. I wanted something cute, fun, and with a bit of color. I did not want to spend $20 per guard since I needed about a dozen.

After doing some research and finding alternatives to the ideas I found, I decided to go for it and make my own. The ideas I found that involved painting and artistic capability were super cute, but honestly, I just didn’t have the time. So, the drawer pulls I used were ceramic and pre-painted with cute designs. I liked the easy option, but if you’re feeling crafty or just want to save a couple bucks, you can use drawer pulls from a thrift store, home improvement store, or recycled from yard sales and flea markets. If you decide to paint, you can make them look like flowers, ladybugs, or mandalas. You can paint designs, dots, or whatever tickles your fancy and suits your style.
Materials Needed
Drawer pulls with center bolts
Drawer pull back plates
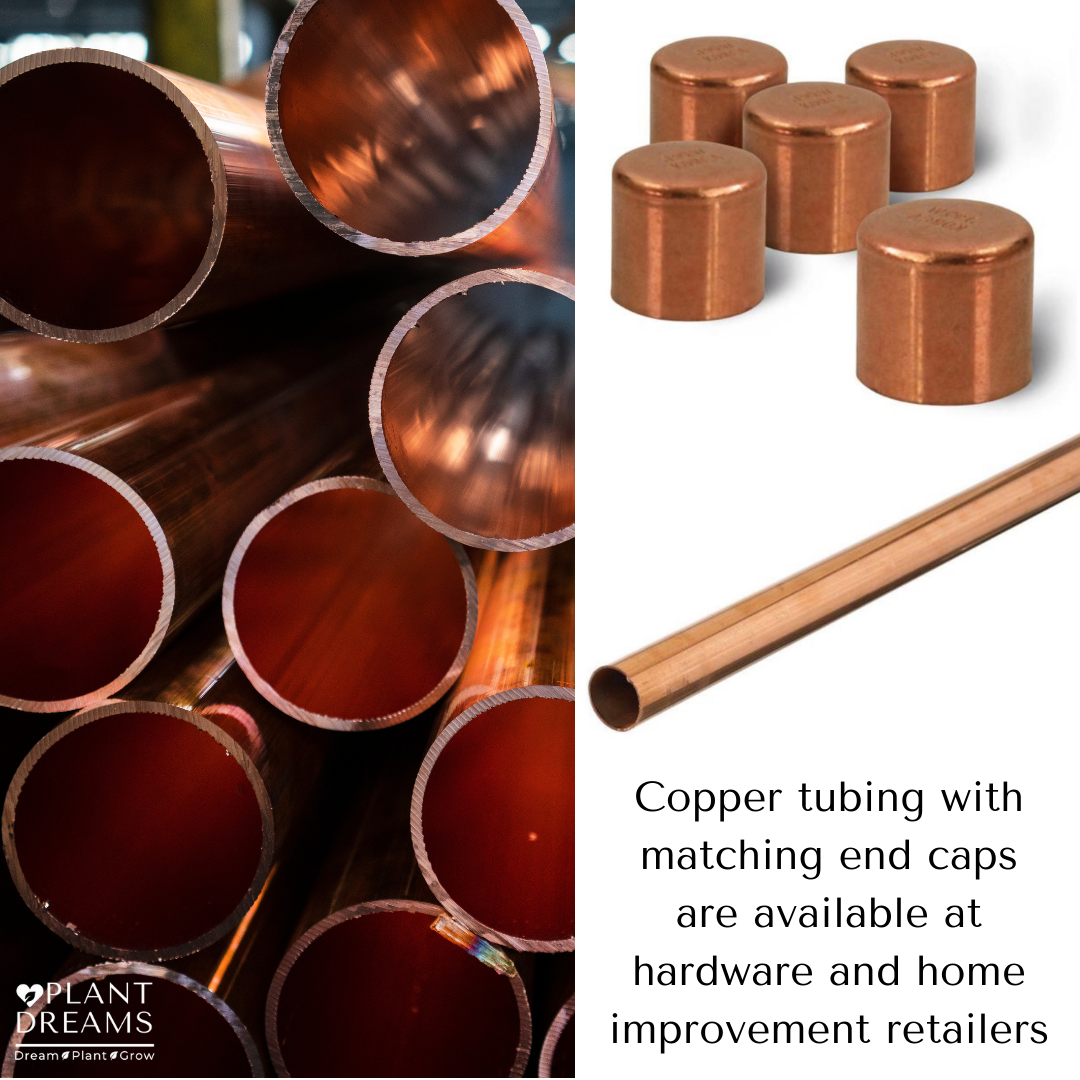
1/2″ copper pipe (1.5-2ft for each guard depending on how tall you want them)
1/2″ copper pipe caps (one per guard)
Drill with metal bit the size of your bolts (drill press is ideal, or you can use a hand drill and a vice)
Hack saw or pipe cutter
Needle nose pliers
Sand paper
Rubber mallet
Safety glasses
Bolts and/or nuts (one each per guard if the drawer pulls don’t have them)
* Optional *
Paint (spray primer, craft paints or spray paint)
Outdoor sealant
Drop cloth, gloves, mask, rags, brushes, etc.

Directions
If you are going to paint, take the bolts out of the drawer pulls and set them aside. You’ll also want to prep any drawer pulls and back plates that you are recycling and have been previously used. Be sure to clean and dry them so the paint will adhere properly, then apply the primer and paint and allow to dry. When dry, apply a few coats of outdoor sealant.
Drill a hole in the top of each copper pipe cap. The hole should be directly in the center and be just large enough for the bolt to fit through. This process works best with a drill press. I didn’t have one, so I used a vice to hold the cap steady, marked the center and used a hand drill. Definitely use a vice and do not try to hold the cap while drilling to ensure no injuries!
Cut the copper pipes to your desired length. You’ll want 9-12 inches under ground and 6-12 inches above. I cut mine 24”. This can be done with a pipe cutter or hack saw. Wear safety glasses if you use a hack saw and clean up the area to ensure the sharp metal bits can’t injure anyone. I recommend using a drop cloth under your work area to make clean up of the small metal bits easy peasy.
Sand the rough parts of the cut pipe to ensure you don’t cut yourself.
Put the bolt into the drawer pull if you removed it and add the back plate, then add the pipe cap.
Use the needle nose pliers to tighten the nut onto the bolt.
Hammer the copper pipe into the ground with a rubber mallet so as not to warp or damage the top of the pipe. Otherwise, the cap will not fit.
Press the copper cap (with the pull and back plate attached) onto the pipe.

You can add these cute little hose guards to your garden wherever you may need them to protect plants. I put them at corners, along edges of paths, and anywhere hoses can damage plants.
So many places are selling cute little drawer pulls. Check Hobby Lobby or Amazon for pulls and back plates. I’ve also seen them at Home Goods and TJ Maxx. Yard sales and flea markets often have random mismatched pulls. Another option is replace existing drawer pulls in your home and reuse the old ones. Win win!

I really like how my hose guards turned out. Since I bought pre-painted, they were pretty quick to put together as well. Note: I did not seal the back plate. I actually wanted it to rust, but if you don’t like the rusty look, be sure to spray an outdoor sealant on them. The copper pipe will eventually get a natural patina.
Until next time…
Dream Big, Plant Love, and Grow Where You’re Planted
XOXO - Laurie